End grain cutting board

Cross posted from: https://agocs.org/blog/2016/10/25/end-grain-cutting-board/

I made an end-grain cutting board, and it’s about the coolest thing. It’s 1 3/4″ thick and made from white maple. I’ll take you through the steps I followed.

I’ve been a metal guy for years now. I love welding, I love machining, but recently I discovered that glued wood joints can be far stronger than I ever thought. We kinda needed a second cutting board, so I watched a few videos and read a few guides and decided I could probably build one. Last Wednesday I sketched out some plans, and worked out that I needed two pieces of 8/4″ wood measuring at least 7 1/2″ by 24″, ideally walnut or maple or cherry.

I went to Owl Hardwood on Wednesday night and picked up a really nice piece of 8/4″ walnut, measuring about 49″ by 10″. That piece was about $60 out the door (nice hardwood is surprisingly expensive!). I took it by the [South Side Hackerspace](https://sshchicago.org) on Friday, cleaned up the edges, and cut them into two inch strips, and got them glued together.

Of note, the table saw sled I used was not perfectly square. I wound up having to flip some of the strips around so that the resulting workpiece was more or less square. I’ll probably have to build a new table saw sled one of these days.

Wary of the out-of-square sled, I cleaned up the edges on the sliding compound miter saw. I was able to work quickly and keep burning to a minimum.

I made a jig out of a precision scrap of pine 2×6, and set that at 2″.

Then I cut my workpiece crossgrain into 2″ strips…

and I set the strips on their sides, like so.

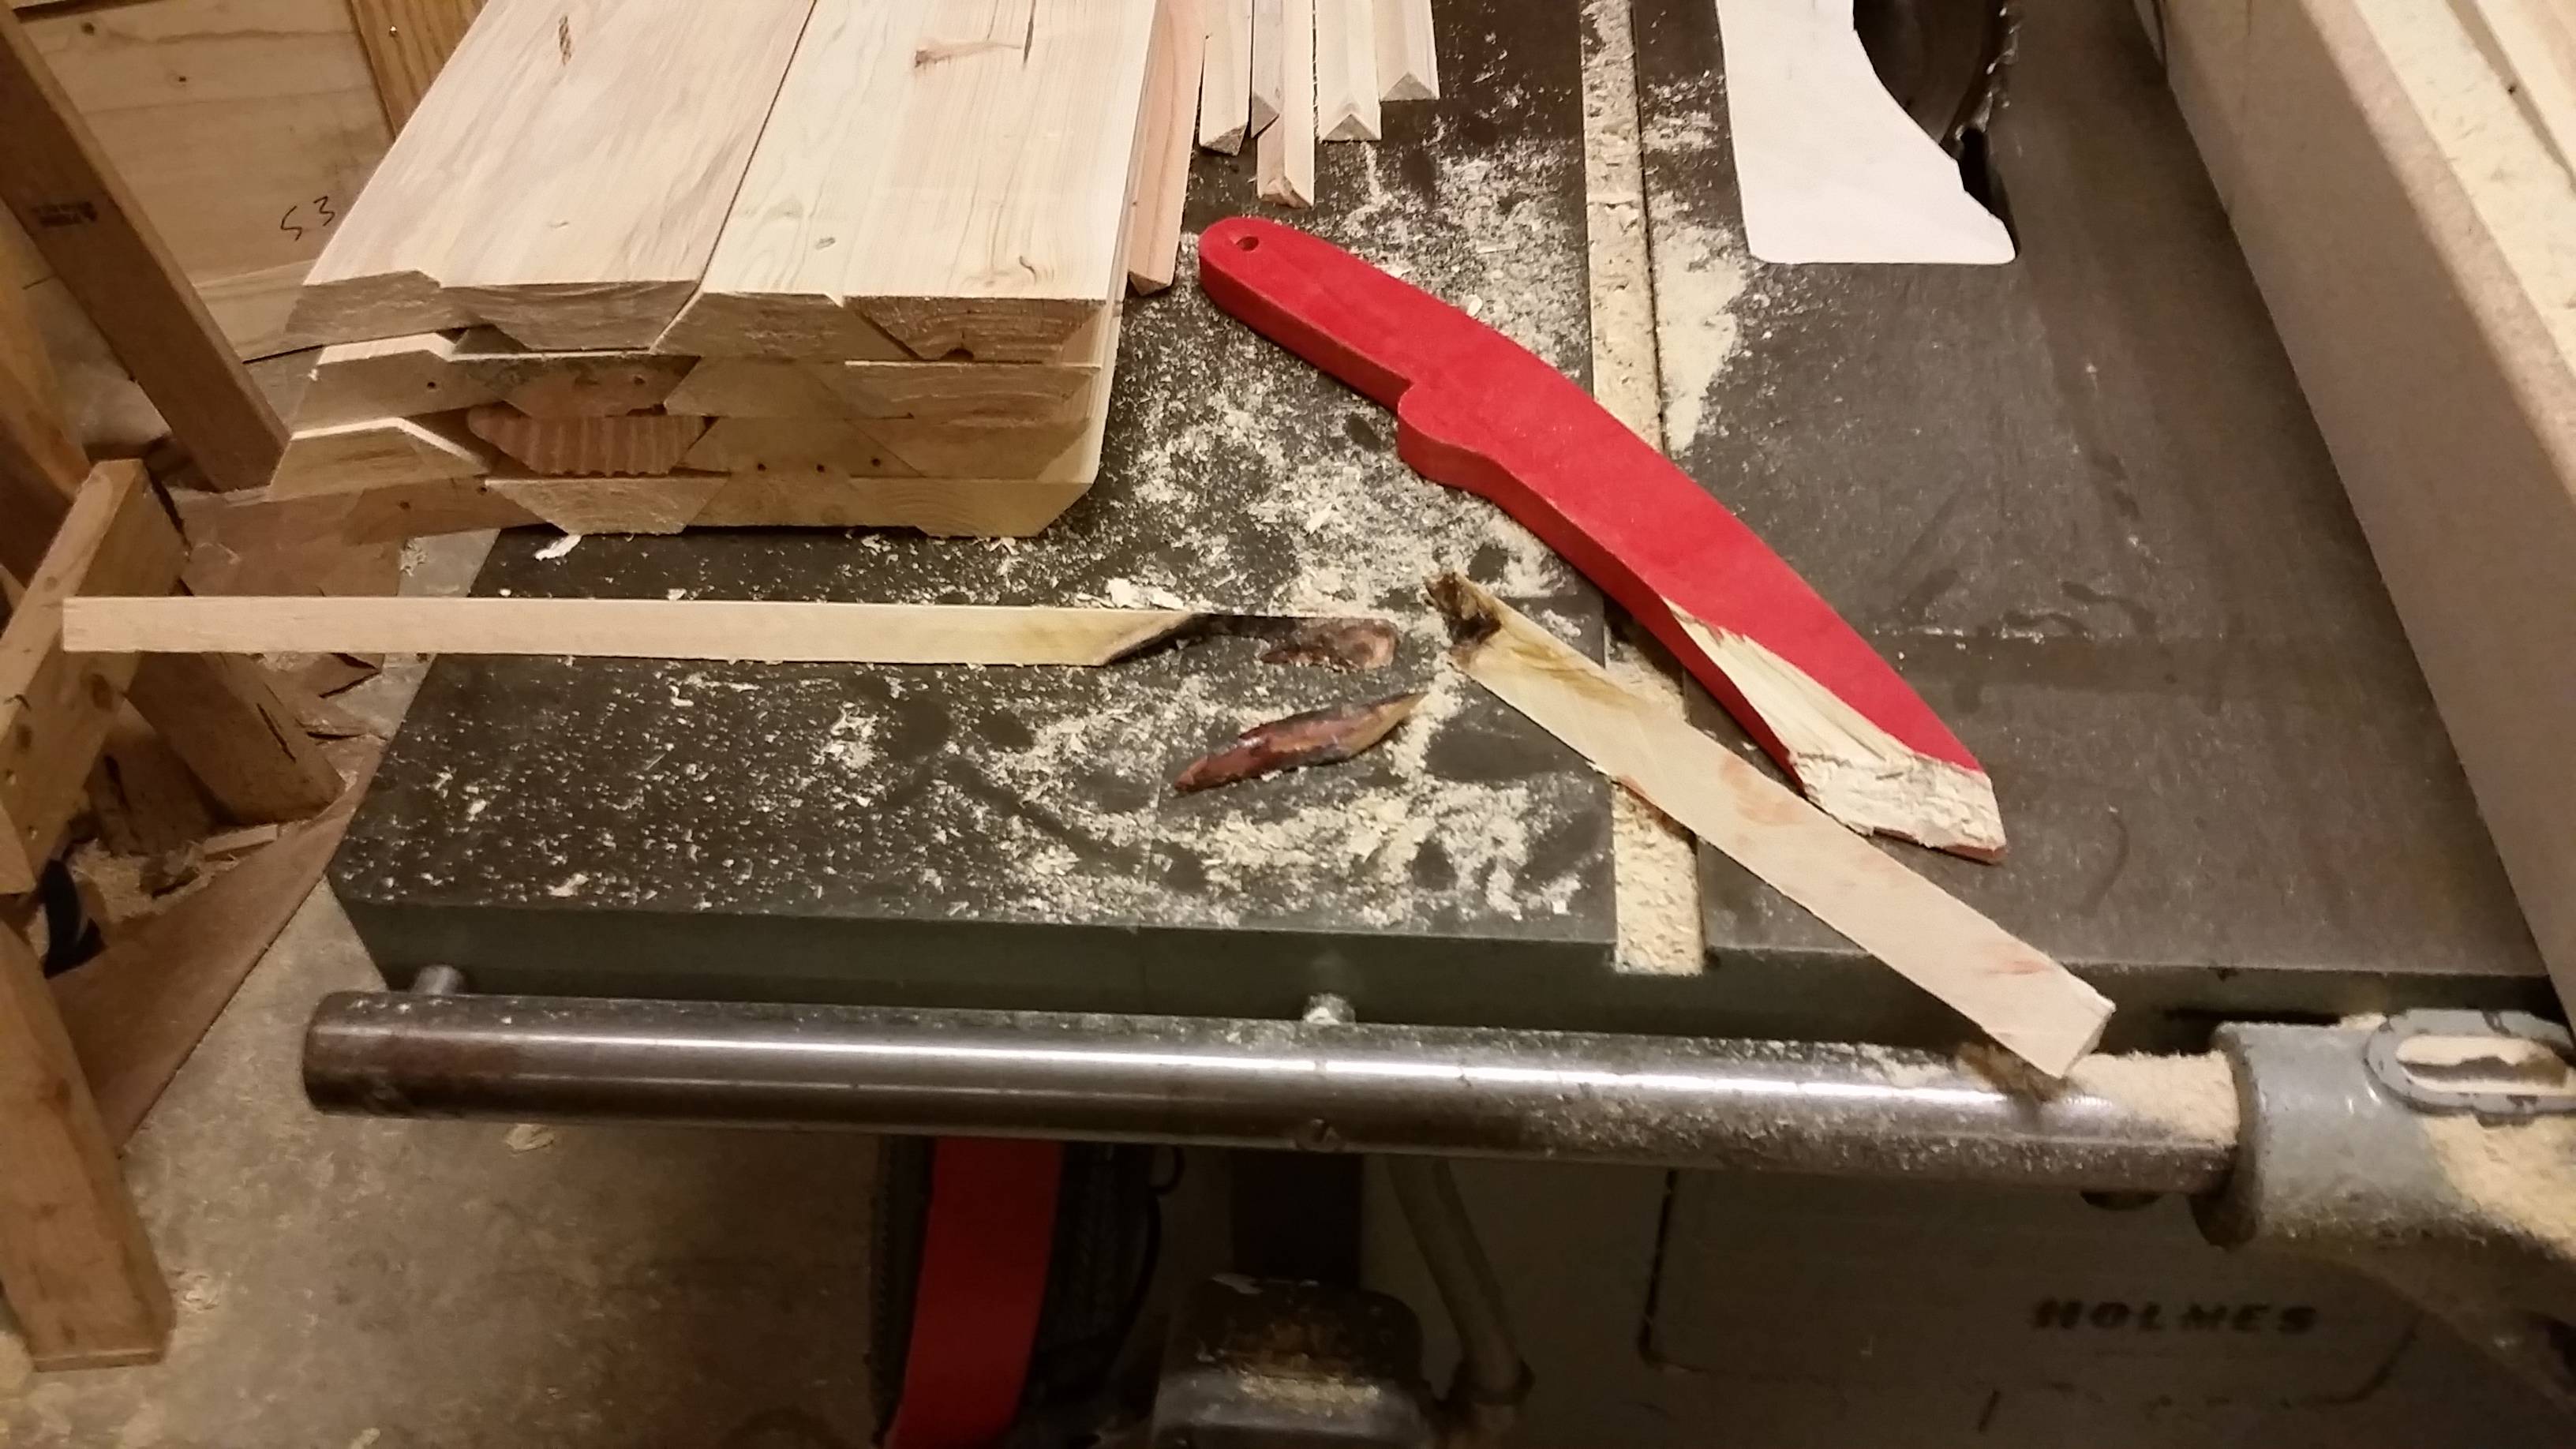
The strips had a little bit of tearout on the sides that was preventing them from joining up nicely with one another, so I put the smallest chamfer on the corners with a Stanley #27 block plane.

When all was said and done, it looked like this:

I arranged the pieces in the clamps and flipped every other piece around to get a nice checkerboard pattern.

I reused the precision pine jig to make a custom pine glue spreader, like so:

Then I applied glue…

and gave it the squeeze.

After letting it sit about an hour, the glue was hard enough to work with. I squared up the miter sled on the table saw and cleaned up the edges.

I then planed the workpiece down. The planer was really disliking cutting the end grain like that, so I wound up having to go super slow, turning the height adjustment no more than 1/8th turn at a time (probably taking off somewhere between 1/64″ and 1/32″ at a time). The planer really beat the trailing edge to heck, so I cleaned that up on the table saw as well.

I put a 1/4″ roundover on the corners with a router, then started sanding. Two problems exposed themselves here: First, I really should have bought new sandpaper (maybe starting with 80 grit, then moving up to 200 and finally 400 grit) rather than just using the 200 grit that I found. The planer’s blade needs replacing, and it left some deep scratches in the surface that sanding was able to minimize, but you can still see them. Second, sanding on the table saw like that caused me to pick up some of the 3 in 1 oil I used to oil the table. Whoops!

Finally the workpiece was sanded and ready to take home.

I bought a couple bottles of butcher block oil (just food grade mineral oil) and a thing of butcher block wax (just food grade mineral oil and bee’s wax) from the Home Depot. At this point my friend [Erin](http://hey-er.in/) will be yelling “No you idiot it’s so much cheaper to buy that oil in bulk! I told you I had some!” But it was late, and I was impatient, so I was willing to spend a few extra bucks to get it done.

Once home, I soaked both sides in oil. I poured a bunch on, spread it around with a paper towel, and waited 15 minutes. I did this three times per side with the oil, then once per side with the wax. The oil brought out the wood’s pattern, and it looks amazing.

My wife helped me pick which side was the bottom, and I installed some anti-skid rubber feet. I might replace the screws with stainless hardware down the road, but this will work for now. Deciding to install feet on one side is a trade-off; I could leave both sides open and make the cutting board reversible, but having feet on the bottom makes it slip around less and also lets air flow on the underside to help it dry off. As an aside, installing the feet was my first chance to use my new Makita drill and driver, so I was excited!

I flipped it back over and let it sit overnight. The oil oxidizes and forms a semi-hard sealing layer. I re-coated the board the next morning, and again later the next day. I got to use it last night to chop some star fruit, and I can’t tell you how exciting it is to have made something this beautiful and functional with my hands.

An argument for safety gear

One thing we’re doing well now is providing safety equipment. Make sure you use it, please!

HasezRU

00:18 < ErBear> after you all left
00:18 < ErBear> i was cutting 45s on the tablesaw for the legs for that table
00:19 < ErBear> one of the pieces had a knot
00:19 < ErBear> …i mean they all have knots
00:19 < ErBear> but this one was special
00:19 < ErBear> just under the surface, it went all the way through, and was incredibly solid
00:19 < ErBear> and it exploded
00:19 < ErBear> yay
00:19 < ErBear> tl;dr: i broke one of the push sticks

Erin was using push sticks, safety glasses, and a full face shield. She left the space with 10 fingers and 2 eyes. If you’re working with power tools, please make sure you understand what you’re doing, and that you take the appropriate precautions.

Keep doing amazing things!

NERF-a-palooza

The SSHC was at the South Side Mini Maker Faire this weekend, and we brought hella NERF guns!

sshc_blog_1

sshc_blog_3
Photo by Katrina Mutuc https://instagram.com/avere.tenere/

sshc_blog_2


NERF hacking event on August 22! More details to come!

Movin’

Moving a hackerspace is hard work! Today, members Phil, Andrew, Steven, and Chris met to load up the last truckload before we can occupy the new space.

20150525131309

20150525132523

20150525131319

Many thanks to all the members and non-members who turned out this weekend to help out!

We are published–go forth and see our article!

Hey All!

SSH:C was recently reached out by the online community TechStorey’s founder Zaman Mecci! He wrote an article about us, titled “Southside Hackerspace in Chicago and its Thriving Tech Community,” which can be found here.

What is TechStorey? TechStorey is a hackerspace media start-up company that “…provides insights in the field of technology and reports about hackerspace and publishes interviews from experts and hackers,” as quoted from Mecci. His website, www.techstorey.com, contains additional hackerspace-related articles, videos, beginning knowledgebases, a technology dictionary, and even a marketplace!

We encourage you to visit the website, share our newly published article, and see all the resources offered!


2015 Chicago Maker Summit

Dmitriy and I had a great time connecting with leaders in the Chicago Maker Movement at the 2015 Chicago Maker Summit held at Harold Washington Library! Dinner and mingling was followed by a formal welcome from CPL representatives Brian Bannon, Mark Andersen, and Andrea Saenz.

I was unable to attend the last Maker Summit, but Dmitriy had, and was really excited to see the progress Jorge Garcia had made on the “Makers In Chicago Website (http://www.makersinchicago.org/) The website has three main components we hope to expand on: calendar, directory, and resources. Jorge welcomes any fellow maker to critique the website and email him with any suggestions (jgarcia@chipublib.org).

The best part was breaking into table discussions. The topics included:

  • engagement: how can we activate our maker community?
  • community: how do we stay more engaged with one another between summits?
  • funding: what needs or opportunities does your organization perceive?
  • advanced manufacturing: how do we fit into the advanced manufacturing landscape?
  • teaching: what methods do you use to teach?
  • shared values and language: how can we come together to help achieve our goals?
  • unconference: miscellaneous topics
The entire evening was filled with positive vibes and serious discussion. It was fantastic to meet so many new makers, tinkerers, educators and hackerspace leaders!

Everyone was in agreement: let’s meet on a quarterly basis at the very least! We might even host one of these summits at SSH:C in the future, so keep an eye out. 🙂

Cyclone Collector

I (Phil) walked into my work place on day, and saw a 5 gal bucket and 35 gal drum we being thrown out. I brought the bucket and the drum to the hacker space. It was a project in the making…

Cyclone Collector 2Our wood shop produces a lot of dust, and the shopvacs we use for clean up always need to be emptied and cleaned themselves. So, I figured we would benefit from a dust separator. The mission was set. Andrew, Dmitriy, and I accepted the challenge.

We got together the list of things we would need:
  • 3′ x 3′ sheet aluminum
  • Some acrylic sheeting
  • 2′ of 2″ PVC piping
  • 2 tubes of silicone caulk
  • a caulk gun
  • hose hangers/clamps
  • 4″ hose
  • a blower fan
  • 5 gal plastic bucket
  • 35 gal plastic drum
  • misc plumbing bits to fit it all together
Theory:
The dust separator works by separating particles based on density. This process is commonly used in industry, and the pieces of equipment go by the names “hydro-cleaners”, “centri-cleaners” or “centrifugal separators”. A lot of the commercial dust collection set ups for wood shops use this same process. Youtube has an abundance of videos to check out on the subject.
In our case, we want to sweep the dust up in an air flow, and get it to the dust separator. The air and dust com into the top of the cone at a smooth tangent. The air is forced to keep accelerating as it goes in smaller circles as it traverses it’s way down the cone. The dust gets pushed to the outside, because of it’s density, and resistance to that acceleration. The air then make a quick upturn to go out the exhaust, while the saw dust continues down and falls from bottom of the cone into the 35 gal drum. This allows us to fill up the 35 gallon drum (a long time between when we have to empty it), and not have all the dust clog the filter sock on the blower. This system gives us cleaner air, a more user friendly interface, a quieter shop, and it looks really cool.
Cyclone Collector 5
 
Build:
We started by making a funnel the size and shape that we needed out of paper. We did some extra math to make sure we would be happy with the result, and then traced our desired shape onto our piece of sheet aluminum. We cut the shape out with metal snips, and cleaned up the edges with the dremel. We used metal tape to hold the cone in the desired shape. Next we cut a hole in the bottom of the bucket and a hole in the top of the drum. Those two then got caulked together. Then we dremeled a hole in top side of the bucket for the PVC to come in tangential to the inside curve of the bucket. This was one of the hardest parts of the project. We used a lot of caulk to fill any open spots, and make sure it would be an air tight seal. Then we dropped the cone into the bucket and taped it in place. After that, we made acrylic lid for the bucket that had a PVC outlet for the clean air. All this was caulked up and left overnight to cure.

Cyclone Collector 4Cyclone Collector 6Cyclone Collector 8Cyclone Collector 9The next day there was a decent bit of flex to the PVC inlet, so we went to work figuring  out how to support inlet and outlet, and hook them both up to the 4″ lines for the blowers. It required another trip to home depot.

Once it was all sealed up, we were all really happy with how well it worked. It’s pretty mesmerizing to watch.

Cyclone Collector 10 Cyclone Collector 11 Cyclone Collector 12 Now we need to find a good location for it, ground it, and attach it to all the tools in the shop. See it in action here on our Facebook page: Suck-O-Matic (TM).

By: Phillip Strong

Pink Vista to Black Linux

Sooo here is my first blog post!  I had an old laptop I was going to donate to goodwill with windows vista on it, but one day I thought why not wipe it an install Linux on it. Well to my surprise the laptop runs Linux really well, I started using the laptop on my workbench. One problem though… the laptop cover was an ugly rubbery pink, which had gotten oddly sticky after I tried to clean it. So I unscrewed the cover and coated the pink surface in black vinyl…and it looked way way better. Then I thought, hey why not make a SSH:C logo themed laptop? I opened up inkscape and generated a vector SSH:C Gear Star logo and cut it out on my tiny Silhouette SD vinyl cutter. Here are some photos of the vinyl sticker production.

IMG_20150309_212346167_HDR

Vinyl cutter on left cutting the red star, gear with registration dots just below laptop.

IMG_20150309_213802025_HDR

Gear and star ready for assembly, also decided to change my background to the same logo.

IMG_20150309_214104726

Assembled and ready for transfer to the laptop!

IMG_20150309_214734328_HDR

Logo applied to laptop! However Dimitry pointed out that the center of the logo needs a white roundel, frak! Should have read our wiki on our logo first!  I’ll have to post rev 2 of the “gearling” logo soon.

Radical Transparency

This afternoon, SSH:Chicago made an unprecedented step in radical hackerspace transparency: we started actively publishing our finances.

Check it out: https://github.com/sshchicago/finances

I came up with the idea back in December, when I started as the treasurer here and had no idea what was going on. I didn’t know how much money we had, or what we were spending it on. Once I saw how the sausage was made, it became a lot easier to make decisions and help shepherd the space.

When I proposed the idea, the biggest issue was our 501(c)3 application. There’s no reason it should have interfered with 501(c)3, but the board agreed that I could go radically transparent once we achieved 501(c)3. So I waited.

While I was waiting, I started experimenting with accounting software. I eventually settled on Ledger-CLI, which is super nerdy and hackerspacey. I developed a workflow where every few days, I log into our bank account, copy our new transactions into the ledger, and then run Ledger to verify that I got it correctly.

I want members at our hackerspace to be able to make informed decisions, and, I think, with these data, they can.